If you've been trying to make room for luxury, professionally printed wedding invitations within your limited wedding budget, you may have ended up bitterly disappointed. Although our printed invites are very popular and reasonably priced, we all know that the precious, hard-earned savings you have for your big day need to go a long way, and expensive invitation suites can quickly make a dent. More and more brides and grooms are now opting to go down a semi-DIY route instead, by printing their own wedding invites at home, work or through a local printing company. Fear not, this is not the kind of wedding DIY which involves glue guns, ribbons or any other fiddly bits, it's simply a case of choosing a printable wedding invitation design you like, customising and printing it. We offer all of our wedding invite designs as instant printables, and what's more, each design has a whole range of other items to match, including RSVPs, inserts, menus, table name cards and much more.
Here is a handy step-by-step guide to printing your own wedding invites, full of tips and ideas to make the process as smooth and stress-free as possible...
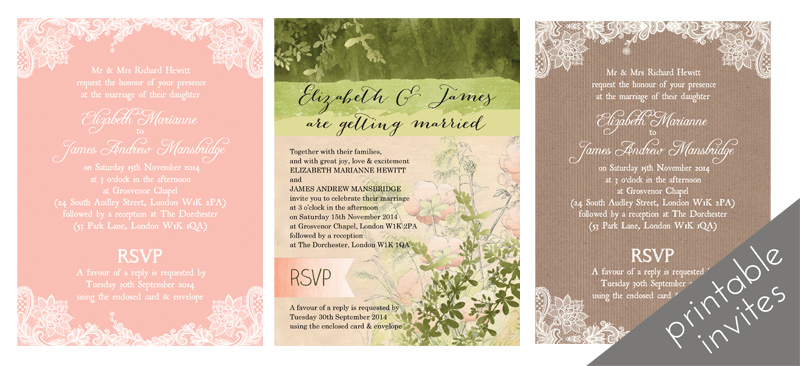
1) Find your style:
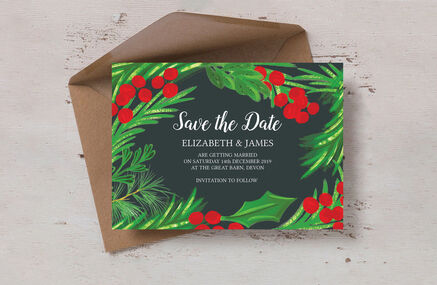
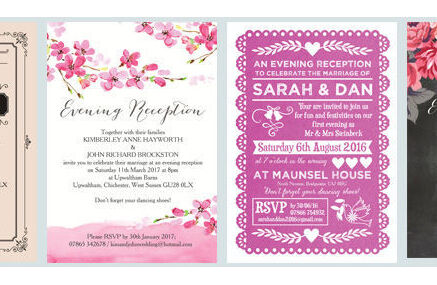
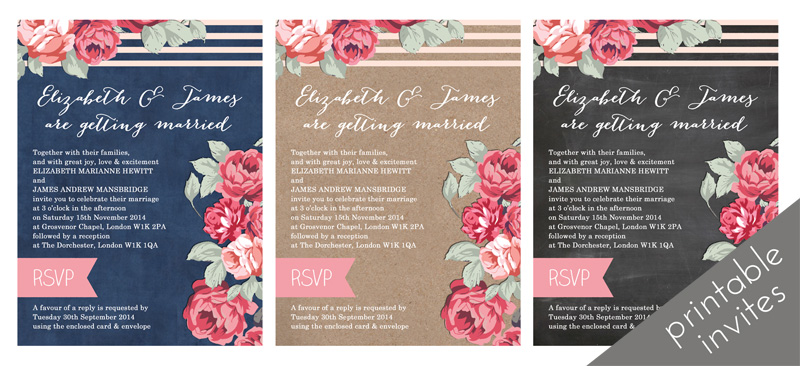
Sit down with your fiancé and browse wedding invitation designs until you find one you both love. Do you have a theme in mind? Are there any colours you're hoping to include? Are you looking for vintage, retro or contemporary designs? These are all things to consider while you're searching for the perfect fit. Do bear in mind that some designs may be more 'printer friendly' than others too - so for example, designs with a largely white background like this confetti invite will use a lot less printer ink than a design with a dark background such as our chalkboard invitation.
2) Agree on a budget and plan out costings:
Firstly, work out what you can realistically afford for your DIY wedding invitations and note the figure down somewhere safe. Next, work out how much the various elements of this project will cost, and try to make the numbers match. Things to consider here are: the cost of ink, card stock for both the invitations and any RSVP cards or enclosures, any embellishments you may be planning, envelopes and finally, postage. If you're sending reply cards, will you also pre-pay the postage on these? Don't forget, you only need to send one invitation set per couple or household as opposed to per person, but it's always best to prepare a few spare for sending extras out if people can't make it, not to mention keeping one or two back as keepsakes for you.
3) Find your perfect paper:
Selecting a good quality card or paper stock is an essential part of ensuring that your DIY, home printed wedding invites still look elegant and professional. You may like to choose at your local stationery supplier, or perhaps you'll prefer ordering online? If it's the latter, don't be afraid to ask for samples prior to purchasing, as most good retailers will be more than willing to send one.
Colour - Selecting the right colour is the first thing to consider - if you're hoping to acheive the same colours you see on screen, you'll have a better chance of achieving a true likeness if you print on white card. Cream, oyster or pearl card stock can look beautiful and elegant, but it may also dull down the colours slightly so do keep this in mind.
Texture - Texture is also important - smooth card stocks will result in a sharper quality print finish, but you may like to choose a textured stock for a vintage inspired or a particularly simple design. Very traditional wedding invitations tend to be printed on 'hammered', card, but you may also come across terms such as laid / linen / cotton / vellum.
Weight - The third consideration here is the weight, or thickness of your card stock - paper is usually definied in this way by grams per square meter, or GSM. The higher the GSM number, the heavier the paper. To give you an idea, most greetings cards are printed on 270GSM - for all the wedding invitations we print, we use 350GSM. You will need to keep in mind that whatever you choose will need to feed through your printer without getting jammed, so it may be best to seek guidance from your printer manual, or do a few test runs before buying in all the stock.
4) Source your envelopes
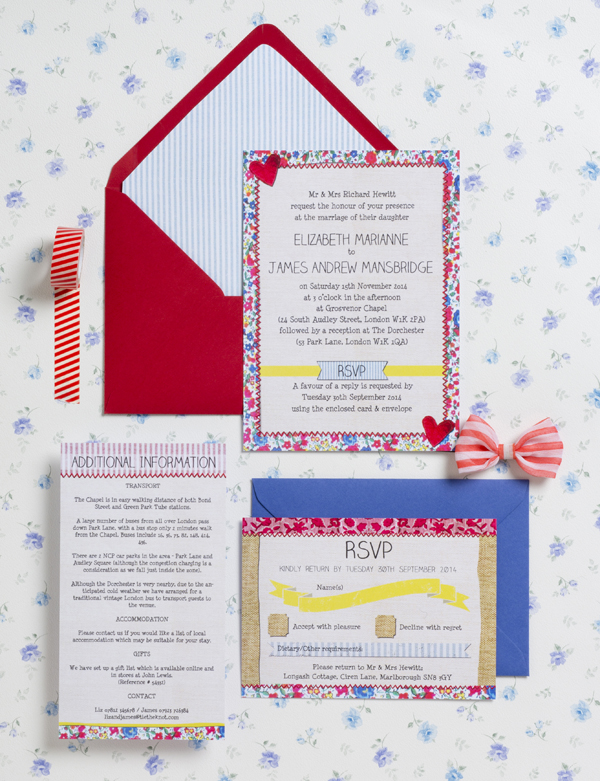
Before you start ordering or printing anything, do make sure that the design you've chosen will be compatible with a standard envelope size. All of our printable weddig invitations are designed to fit perfectly inside 5" x 7", which are widely available in a variety of different colours both in the UK, the US and most other countries. If you want to add an extra touch of luxury to your envelopes, why not create your own envelope liners to match your invitation suite? Our range of pattern sheets have been designed specifically with this in mind.
5) Customise your favourite design
Customising our printable wedding invitation designs is so easy, and you can start right away - all the time viewing a live preview so you know exactly how it will look before you commit. All of our invitations are £12 with our 'Ready-to-Print' service, and once purchased, it will be available to download and print immediately. There's no going back and forth with a designer, waiting for proofs or requesting amendments, you can simply remain in full control yourself.
5) Get printing, but always test and take your time
So, as a general rule - if you think this whole project may take you one week, allocate two. Customising, printing, cutting, addressing and mailing will inevitably take longer than you think, and on the whole this is a much more pleasant task when you are not working to a tight deadline. To be on the safe side, be sure to do a few test runs before hitting the print button on a whole batch of 100. In the UK, couples generally send their wedding invitations 3 - 4 months before the big day, or even sooner if it's a destination wedding.
6) Cutting, cutting, cutting
Once you've printed your design, you'll need to cut them down. For a really professional finish, you'll want the colour/design to go all the way to the edges, and not leave any white borders around the invitation - printers do not print right to the edge, so all our printable invites include what's known as 'bleed', which is a 3mm safe area around the outside which you can cut off to achieve this elegant finish. We recommend that you steer well clear of the scissors while cutting out your invitations - no matter how steady your hand, you will never end up with a dead straight edge. Instead, we recommend you use a guillotine paper cutter, or a craft knife, mat and ruler.
7) Signed, sealed, delivered!
Hooray, you've done all the hard work so now comes the exciting part where you get to post your invitations out to your wedding guests - there's no better way to get people excited for your big day than when a lovely invitation lands on their doorstep. Practically speaking, it's always wise to check with the post office that you're putting the correct value in stamps on your envelopes, as your guests having to settle unpaid postage at their end would be an embarrassing blunder to bear. The only thing left to do now is sit back and await the excited RSVPs which will start arriving soon.
We hope you've found this article helpful, don't forget to browse our printable wedding invitations, or if you'd like to have a chat with us about printing your invites or ask a question via email, we'd love to hear from you so please don't hesitate to get in touch. Good luck and enjoy planning your special day!
Jenny